
SALE HORSE PHOTOGRAPHY
sale horse photography 101
Getting a standout photo that shows the horse’s best qualities and captures the buyer’s attention is an important part of marketing a horse.
A picture is worth a thousand words, or so they say. That said, not all photos are worth using to help sell your horse. In fact, a bad photo can eliminate your horse from consideration. Not only do you need to good photos, they need to stand out from the rest and show your horse’s ‘spark.’
There are Kat Rodgers Photography tricks to help get the job done as painlessly and efficiently as possible. A little bit of planning goes a long way and will result in a much better quality photo. I’ve broken it down:
basic horse photography
posing horses
conformation shot
movement shot
basic horse photography
- Choose a location
– Be mindful that too busy a background detracts from the horse
– Barns, rock walls and trees all make nice backgrounds
– Find a background that complements your horse
– A dark-colored horse will disappear in front of a dark background
– Stand the horse 30 feet or more in front of the background - Start with a groomed horse
– Think show ready; clean, trimmed, with tail shaken out - Face horse towards light
– This keeps shadows to a minimum
– If possible take photos when sun is not directly overhead
– Morning or early evening are the best times, but anytime except noon is good - Shoot from horse’s level
– Camera lens should be at the mid shoulder of the horse
– If the lens is too high, horse’s legs will look short
– If the lens is too low, the legs will appear long, very long - Kneel down
– This position automatically gives you a better angle for photos
– It’s easier to keep low position and to change positions - Get the ears up and eyes open = the horse looking alert, use whatever tool works best for that particular horse
– Shake a pole attached with a rag, use a can of rocks or a squeaky toy
– Do whatever it takes, forget about your pride and don’t be afraid to look silly - Move YOUR feet
– Get other angles, not just side or straight on view
– Don’t forget the 3/4 view - Make all your photos full body ones (don’t crop in camera)
– You can always crop a photo for a head shot but you can’t add a body to a cropped photo - More is better, especially with photos
– It’s easier to delete or throw away bad photos than to set session up all over again - Be patient
– A little planning and preparation will help your photo shoot go smoothly
– Schedule a time when you won’t be rushed or stressed
posing horses
Stacking the feet? OLD SCHOOL!
HORSES BODY POSITION
- Natural is best. Stagger feet as if they’re walking
– Walk your horse forward and back to get feet staggered
– It shows off chest and makes the bottom line look not so long - Watch for when one leg is hidden behind another
– Creates a two or three-legged horse - Don’t allow the horse rest his back leg
– Push against his hip for easy fix, or walk him forward and back - Figure out where the horse’s head set is naturally
– To minimize a high head set, have horse bend its neck a bit toward you
– Try lots of different angles; again, more is better - Every horse has something special about it
– Have helper move the horse so the head moves to find additional angles - Once you have above lined up, move YOUR feet and shoot from different angles
– Do this with horse maintaining position
– Be mindful of sun’s position
– The sun creates shadows that don’t always flatter horse
conformation shot
take photos from lots of angles
FULL BODY
- Each horse is different so take photos from many angles to ensure you get the best photo.
– Desired photos include: side view, 3/4 view from head, 3/4 view from rear - Start with full side view of horse (horse perpendicular to camera)
– Camera height at mid-shoulder of horse - Move your feet one step at a time and take a photo at each new position
– Move to the front so you have more chest
– Move to the rear to ensure you get all views
HEAD SHOT
- Shoot from the horse’s eye level and focus on the nearest eye
- Make sure the halter/bridle fits with halter/bridle top as close to the ears as possible
- Have ears up and eyes open
– Lazy ears or ears back in irritation will not say good things about the horse
– One ear back is ok (shows engagement with the owner, but it needs to be the ear
next to the person who’s in the frame)
– Do anything to get horses attention - Head shouldn’t be too much higher than withers, lower is better
– Think reiner lope headset position - Pay attention to lead rope/reins and how they fall
– Have lead rope/reins loose or without tension
– Make single loop with reins/lead and don’t wad them up
– Watch when horse turns it’s head towards photographer, lead/rein will need more drape
– Lead/rein against horse’s body/chest can be distracting and takes lots of Photoshop to
remove - Have helper stand in the direction where you want your horse to look.
movement photography
keep camera ready to shoot
HORSE AT LIBERTY PHOTO
 It’s easiest to use round pen or paddock
– An arena or open field has too much space and you’ll waste time trying to get the horse, sun, and movement all working together.
- Stand in middle of pen or at one end of paddock with the sun at your back
– Kneeling if possible
– Be mindful to keep the camera lens position mid shoulder of the horse - Don’t think lunge movement
– You want bursts of energy for more natural look (think playtime)
– Use a dog on the outside of pen to help push horse around - Get photos when they’re just standing looking at you too
– Have your can of rocks/toy handy to get ears up
LOPE PHOTO
Timing is everything. Think reiner lope; easy and relaxed.
- Foot position: fore foot closest to you is up
- Photo angle: chest muscles are shown to their best advantage when the horse is just starting to round a corner
- Head position: relaxed with loose reins shows off the throat latch and a nice neck line
TACKED UP PHOTO
It’s easiest to take conformation photos of a horse in tack AFTER getting working photos. Since horse is already tacked up, sweat doesn’t matter. Just take time to wipe off any foam and excess sweat.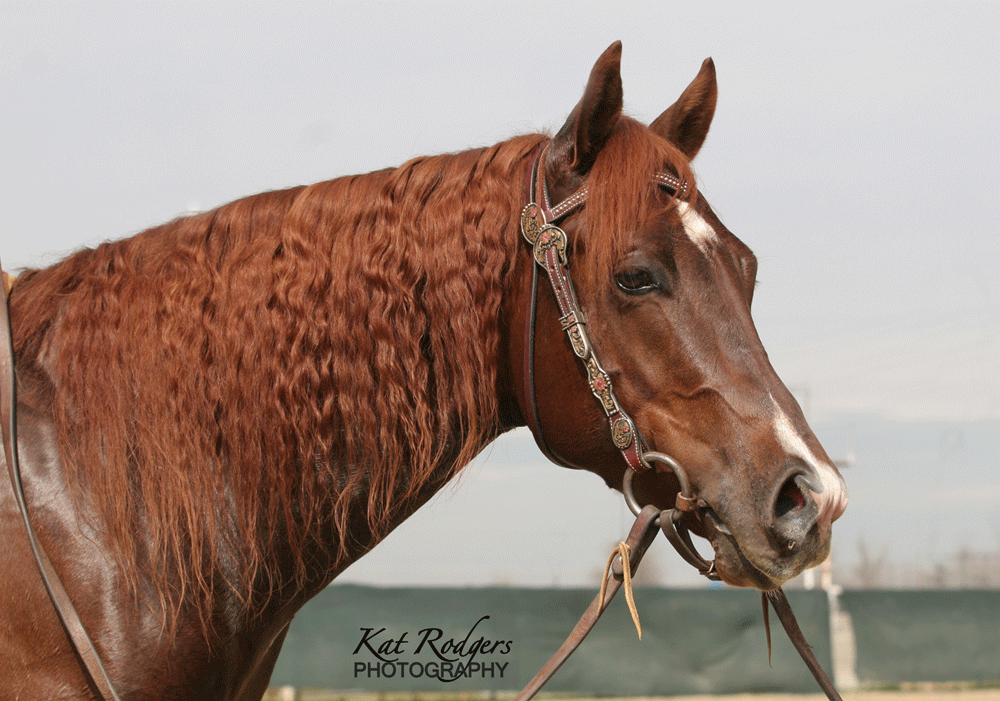
- Rider can be mounted or standing holding rein
– Photo with rider standing out of view is easier to crop
– If rider is standing, make sure he’s out of camera view - Reins needs to be loose with no pull on bit
– Both reins around horn with nice drape
– One loose with nice drape, one loose in rider’s hand - Try several methods to get best tacked up conformation photo
– Easiest one is when he’s walking out of pen
– Have the horse walk in front of you or past you
– Take still photos while the horse is catching its breath.
photos and photo hints © Kat Rodgers Photography
Need a creative photographer?
contact Kat – kat@KatRodgers.com